Docs
Power composer is an easy to use program for making music with MIDI and Soundfonts. You can start making music immediately by clicking in the Note Area to create Notes and then pressing the Play Button.
Stage
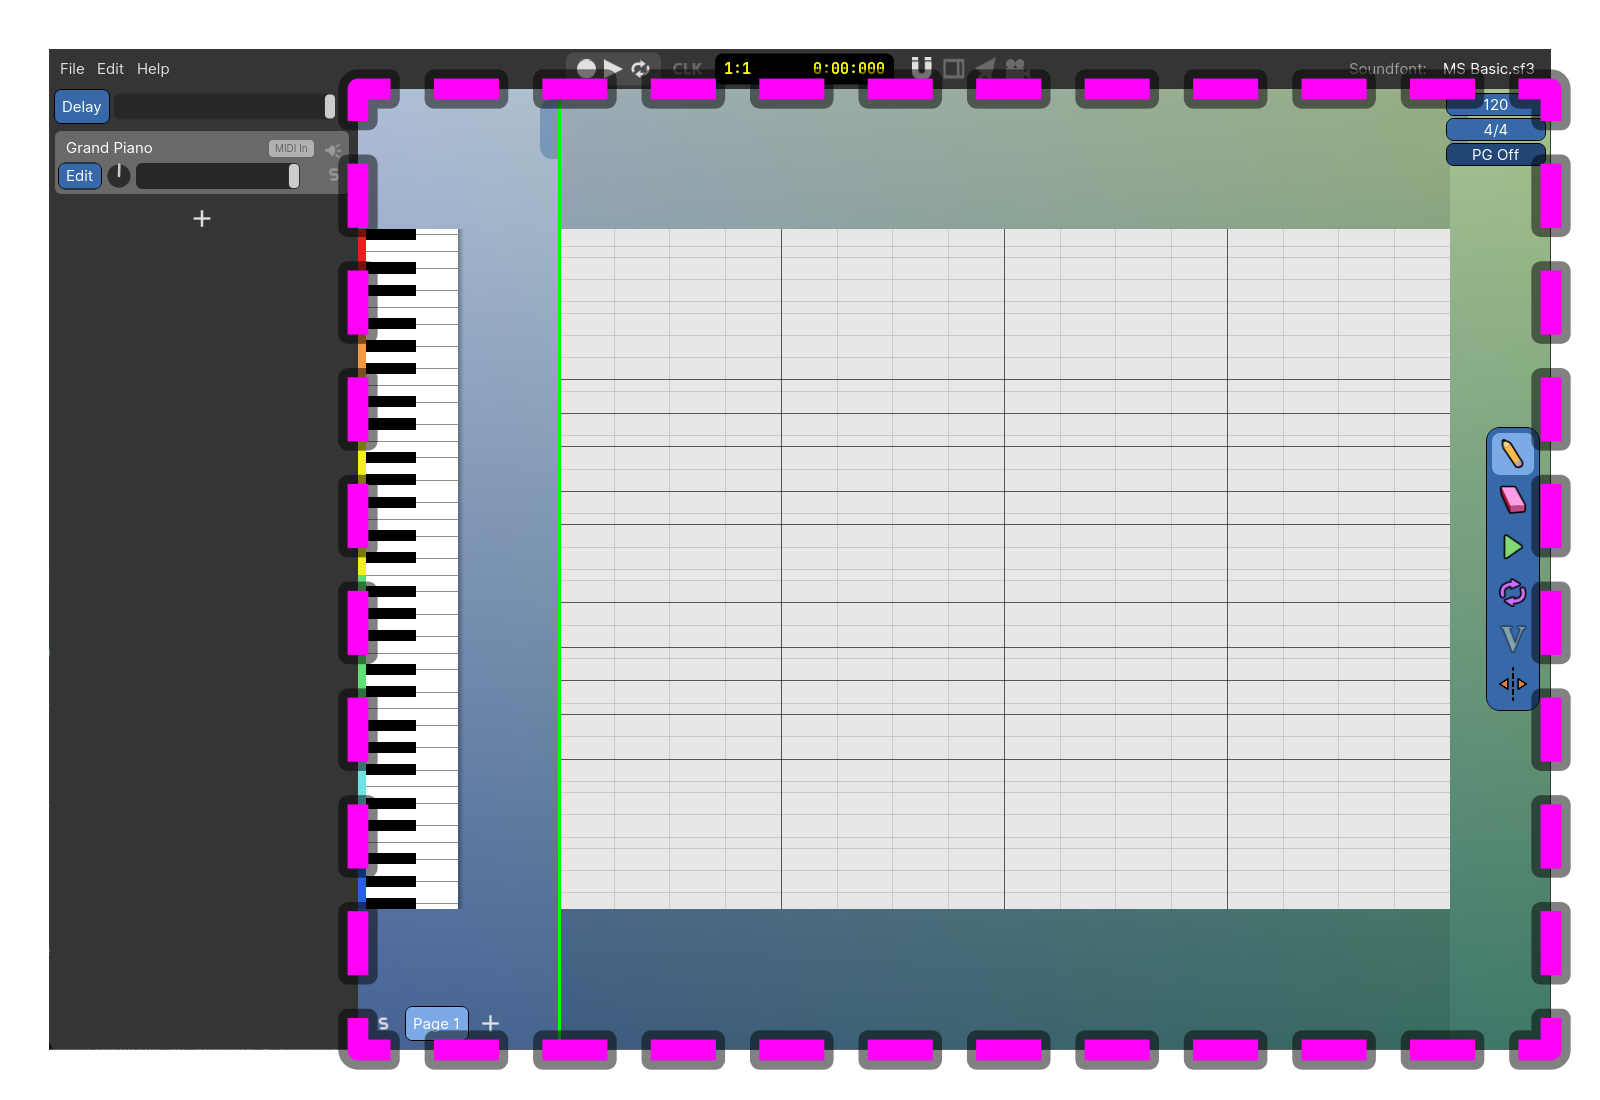
The Stage is the main area of the program. To navigate this area you can zoom in and out with the mouse wheel and you can move around the Stage by holding down the mouse wheel and moving the mouse.
Note Area
This is the region of the screen where Notes are visible and editable. When you have multiple Instrument Groups you will see multiple Note Areas stacked vertically.
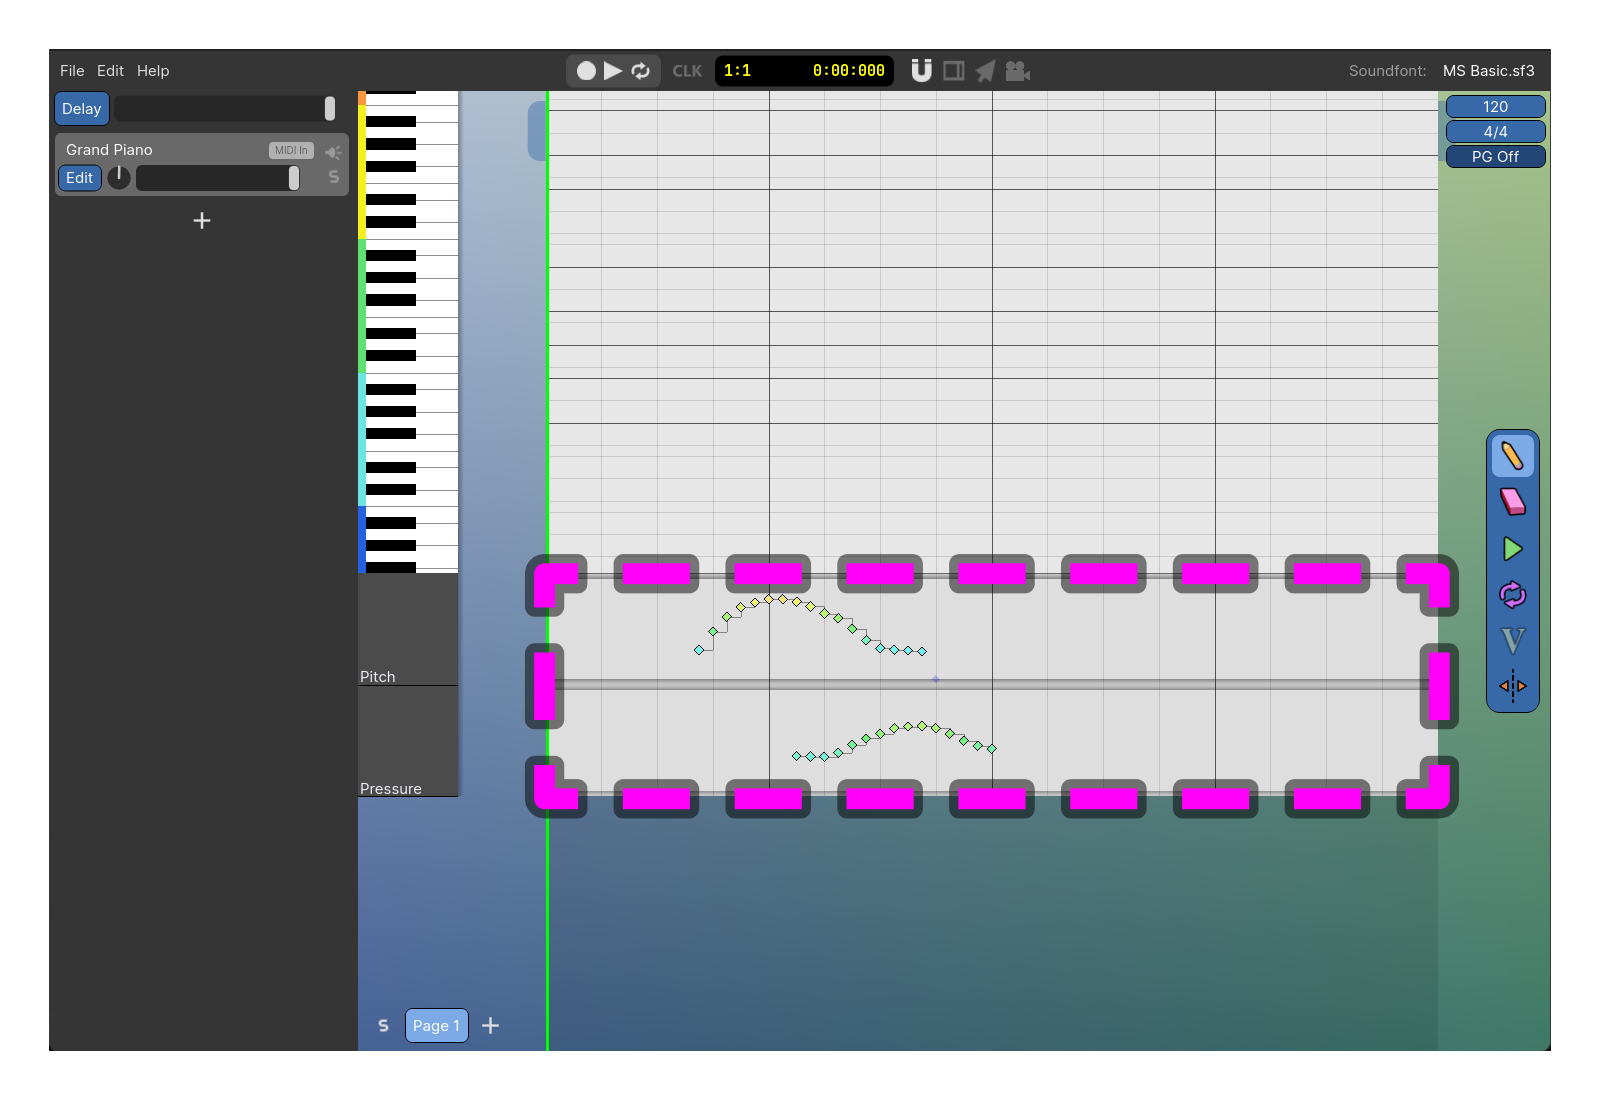
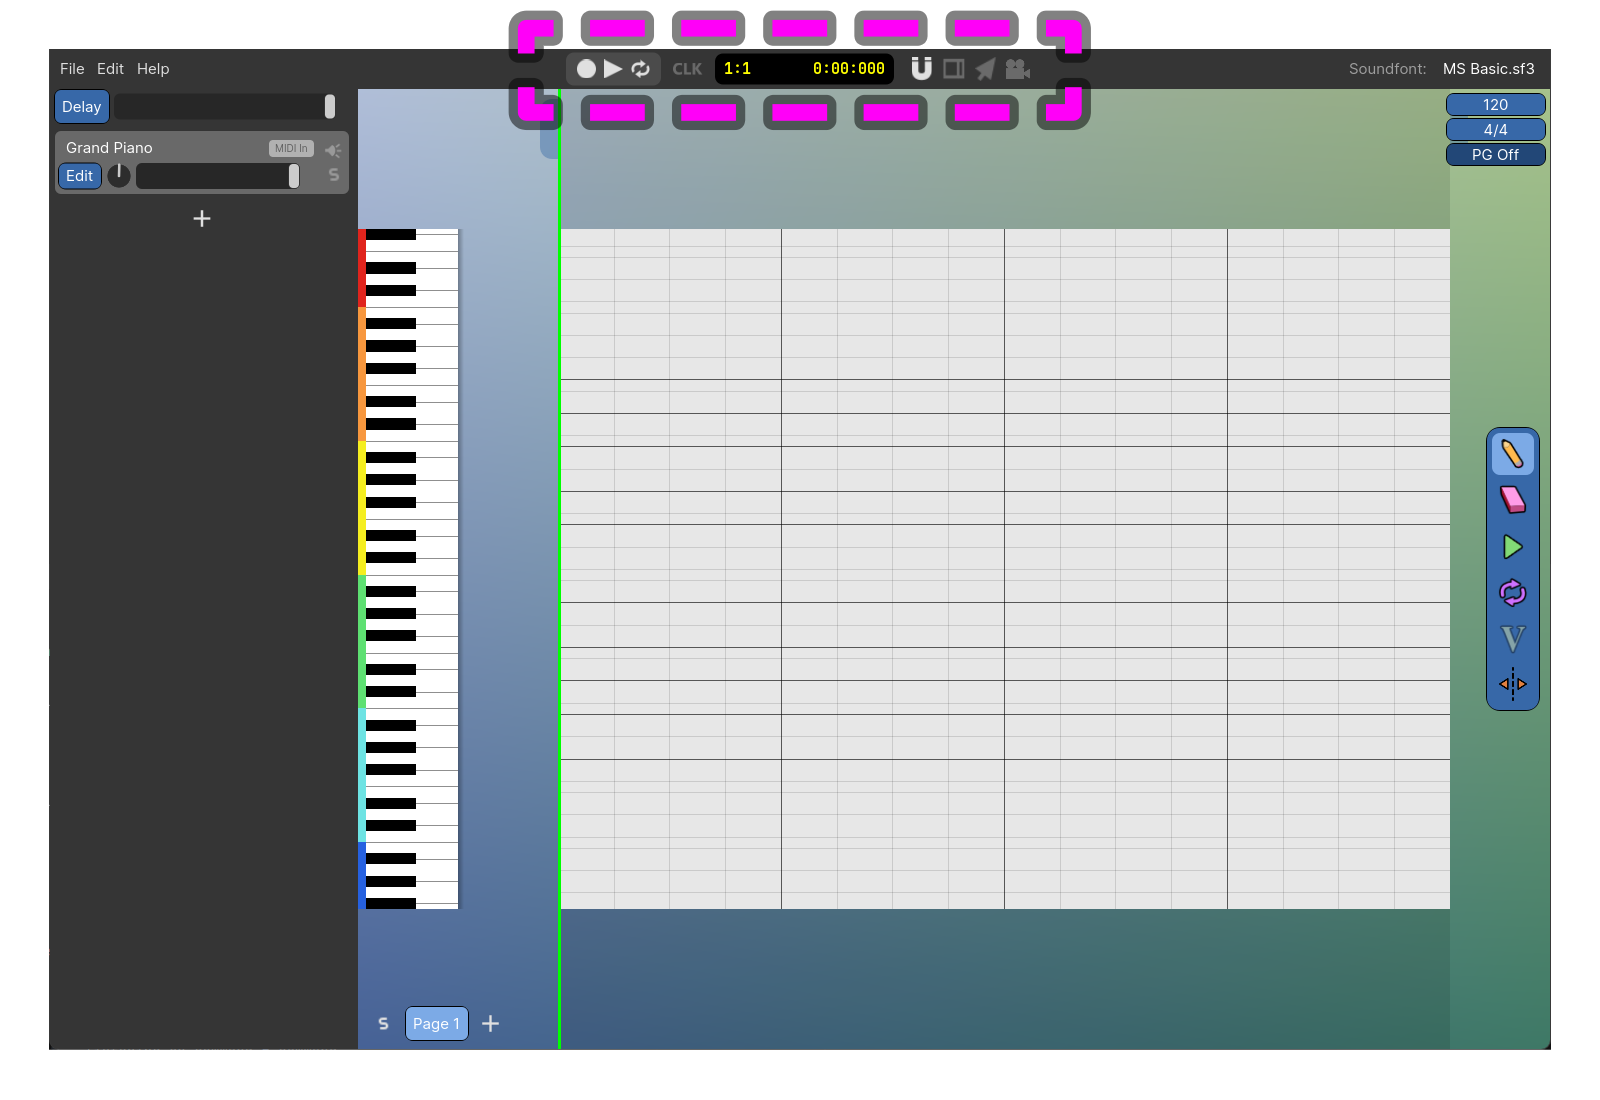
If you want to extend the pitch range of the Note Areas you can click and hold the top or bottom of the Note Area and drag. You can also drag out the end of the Note Area to extend the length of the song (this sets the length of the current Page technically, but when there's only one Page, this is equal to the length of the song.) The tabs located near the top left and top right of the Stage will extend the current Page's intro length and outro length.
Notes
Notes are the main element of music that trigger the instruments to play!
You can add and remove Notes in Note Areas. Use the Draw tool to add Notes and the Erase tool to remove Notes.
You can move the Notes by clicking and dragging on Notes. You can change the start or end by dragging the start or end of the Note.
Instruments
Instruments are displayed in a vertical list on the left side of the screen.
For each instrument, you can adjust the volume with the volume slider and the panning using the pan dial. The mute button will stop this instrument from playing and the solo button will make only this instrument (and other soloed instruments) play. The Edit button opens the Edit Instrument window which has options for selecting the instrument and adding Instrument Event types.
The MIDI In indicator means that incoming messages will be played on this instrument. Set the MIDI In instrument by clicking on the desired instrument.
Instrument Events
Instrument Events (a.k.a. MIDI controls/control changes) allows editing dynamic properties of an Instrument.

To add Instrument Event Lanes you press the Edit button on an Instrument to open the Edit Instrument Window. Then press Add Event Type which opens the possible event types that you can add. Once added you will see a new lane beneath the Note Area where you can now add/remove Instrument Events.
Instrument Groups

Instruments can be grouped together, which will make all their Notes appear in the same Note Area. To move Instruments to a new group, drag a non-interactable area of the Instrument UI panel and drag it to the newly appeared box below the + button.
Pages
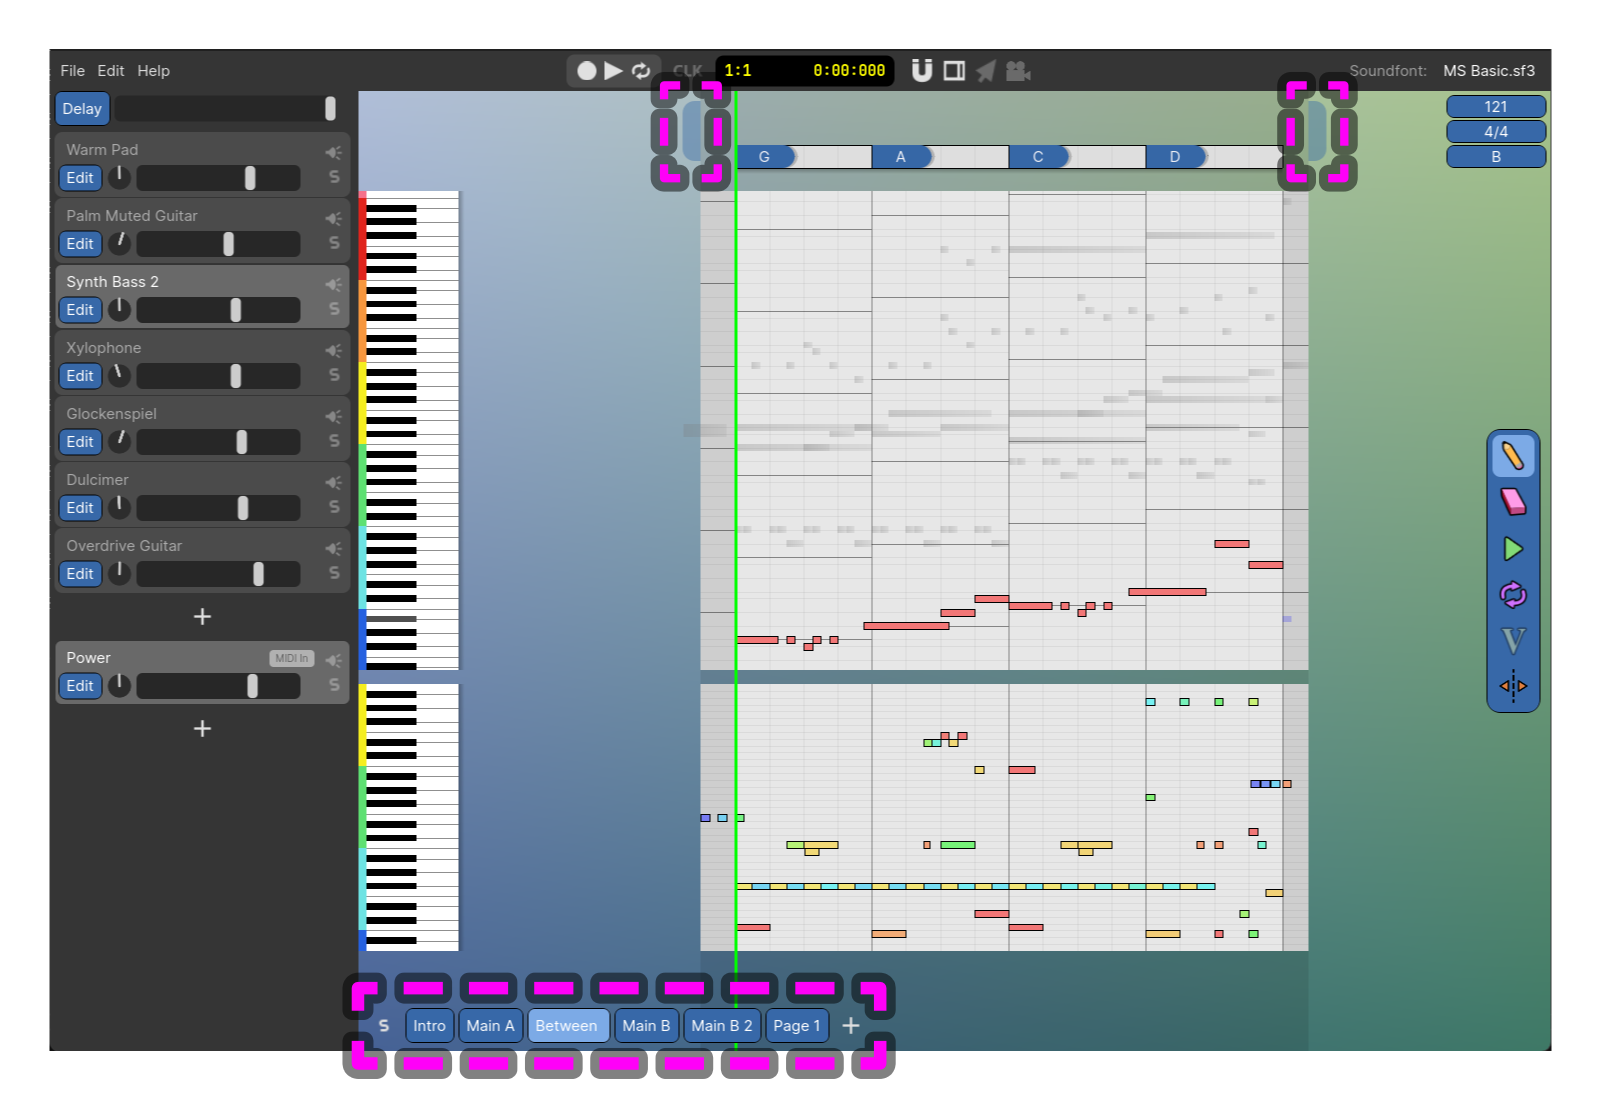
Pages represent different sections of the song. When the playhead reaches the end of the page it will automatically advance to the next page in the list (Pressing S to the left of the pages will disable this auto-advancing). You can press + to the right of the pages to add a new page.
You can add an Intro and Outro to each page, the Intro plays simultaneously with the previous page and the Outro plays simultaneously with the next page. You can create and edit the length of the Intro and Outro by dragging the tabs near the upper left and upper right corners of the Stage. The intro and outro are differentiated from the main portion of the page with a dark background color.
Page Archive
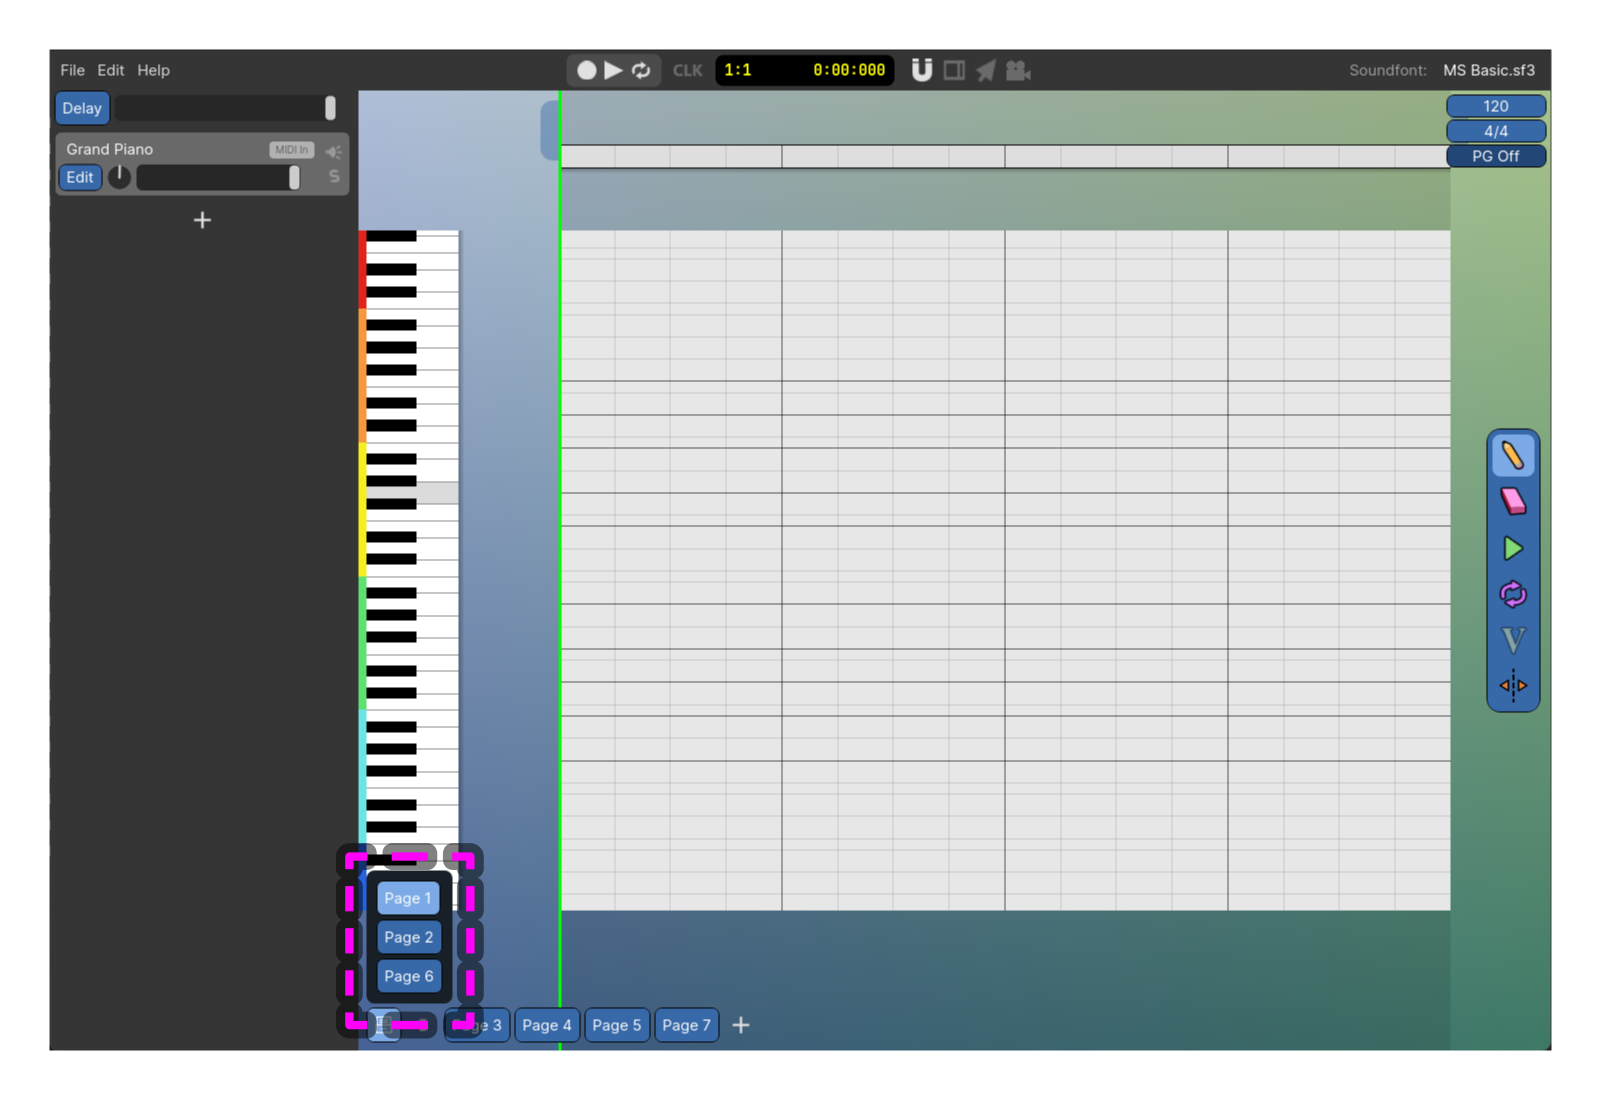
The Page Archive is a tool for putting unused Pages off to the side. Right click on any Page and press Archive in the context menu. This will add that Page to the archive which you can view with the button to the left of the pages. This Page will no longer be present in the song.
Top Bar
The Top Bar contains the following:
Record Button

Starts playing and recording input Notes. You can input Notes via a MIDI controller or by clicking keys on the on-screen keyboard to start recording Notes. Default keybind is Ctrl + R.
Play Button

Plays the song starting at the playhead. Default keybind is Space.
Loop Button

When the song reaches the end of the final Page, the song will start again at the beginning of the first Page (unless the Page is soloed, then you'll only loop the current Page). Default keybind is R.
'CLK'/Metronome Button

Turns on the Metronome, which will play a click sound on each beat.
Time at Playhead

This display shows the current time where the playhead is located. On the left it displays the current measure and current beat. On the right it shows the current time in minutes/seconds/milliseconds.
Snap

This toggles on snapping when moving or drawing items. Right click the snap button to change the grid division where snapping occurs. The 1/3 toggle allows for snapping to a triplet rhythm. Default keybind is Alt + S.
Swing

This modifies the swing rhythm of new and exising Notes. Use this when you want to add some shuffle/groove to the rhythm of Notes in your song.
When enabled, if the start or end of any Note (or Instrument Event, Tempo Change and so on) ends on an odd numbered swing grid division, it'll be moved by an amount. You can set this amount and the swing grid division by right clicking on the swing button.
All Selectable

By default, only the Notes 1 Instrument are selectable. When All Selectable is toggled all the Notes of every Instrument will be selectable. Also the coloring of the Notes will change from a color representing the Note's velocity to a color representing the Note's Instrument. You can see which color represents each Instrument by looking at the color to the left of each Instrument in the Instruments panel. Default keybind is Alt + A.
View Follow

When View Follow is enabled, the camera will follow the playhead as the song plays. Default keybind is F.
Tempo / Time Signature
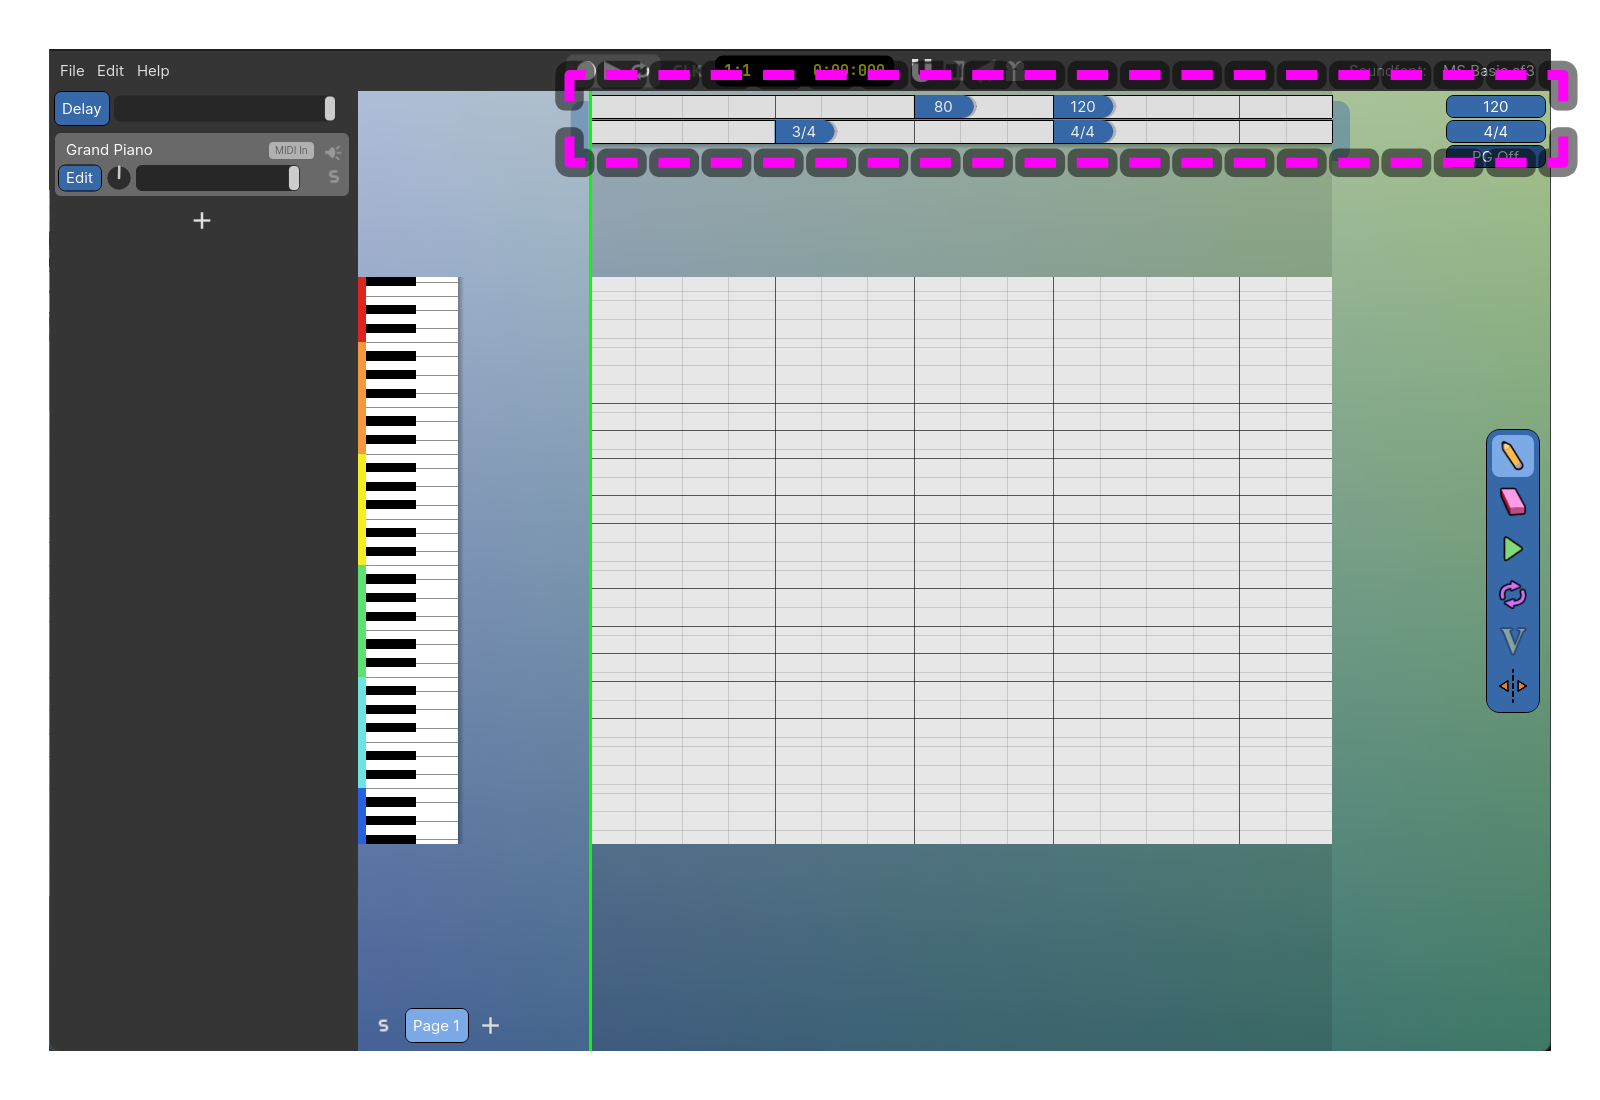
You can set a global Tempo and Time Signature for the whole song as well as dynamically change these throughout the song. The blue boxes at the top right show the global Tempo and Time Signature.
To change these dynamically hover your mouse over the top blue boxes which reveals the Show Track button. Pressing this reveals the track on which you can use the draw tool to add Tempo or Time Signature changes. Click on either the global boxes or these changes to set their values.
Pitch Guide
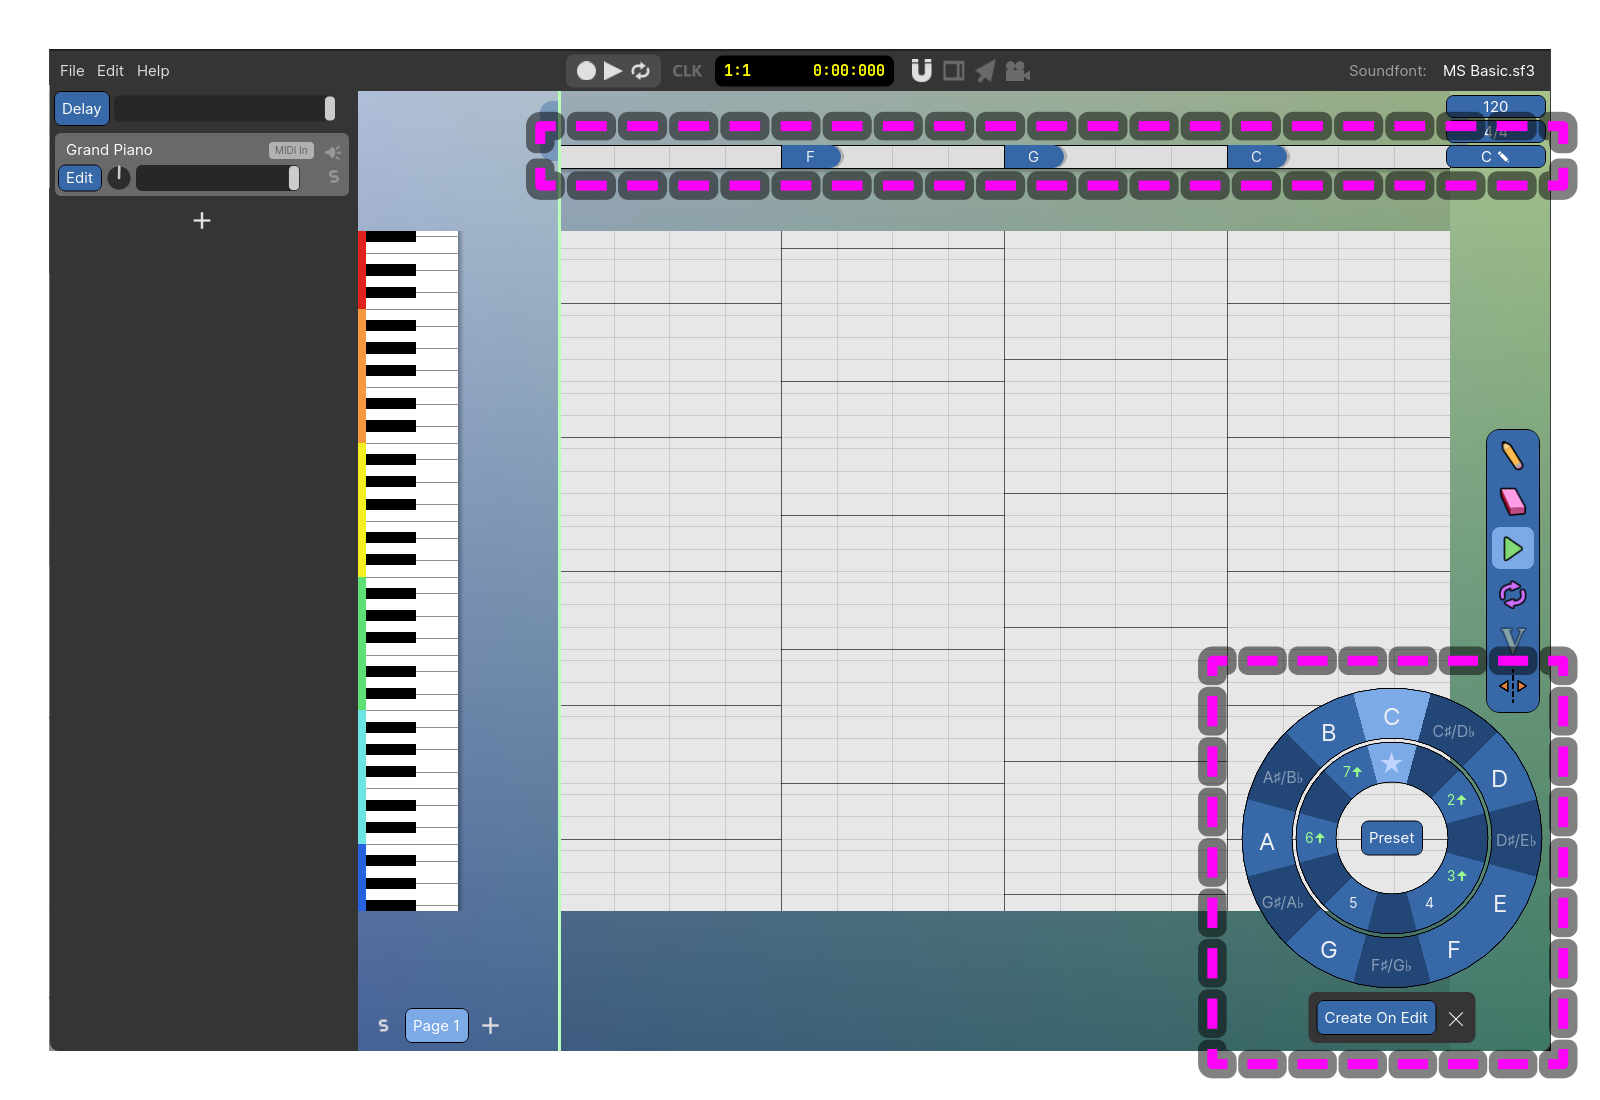
Use Pitch Guides to customize the horizontal guide lines in your song. When you enable the Pitch Guide, the Pitch Guide Editor will appear. This editor allows you to set the primary pitch with the outer ring (represented by a black line in the Note Area) and secondary pitches with the inner ring (represented by gray lines in the Note Area). With the center Preset button you can change all the secondary pitches to conform to a musical scale (e.g. Major, Minor and Blues).
Like the Tempo and Time Signature, this can be modified dynamically and the dynamic track is opened in the same way (hovering over the global Pitch Guide box, then pressing Show Track). The Pitch Guide editor always shows and edits the Pitch Guide that's active at the playhead, so if there's no Pitch Guide change on or to the left of the playhead, the editor will show the global Pitch Guide. Otherwise, the editor shows the Pitch Guide change on the playhead or the first one to the left of the playhead.
Toggling Create on Edit will make a new Pitch Guide change at the playhead if there isn't a change at the playhead and you make any interaction with the Pitch Guide editor. This is how you can make many changes quickly, by first dragging the playhead where you want to make the change and then making the change by using the editor.
Mouse Tools
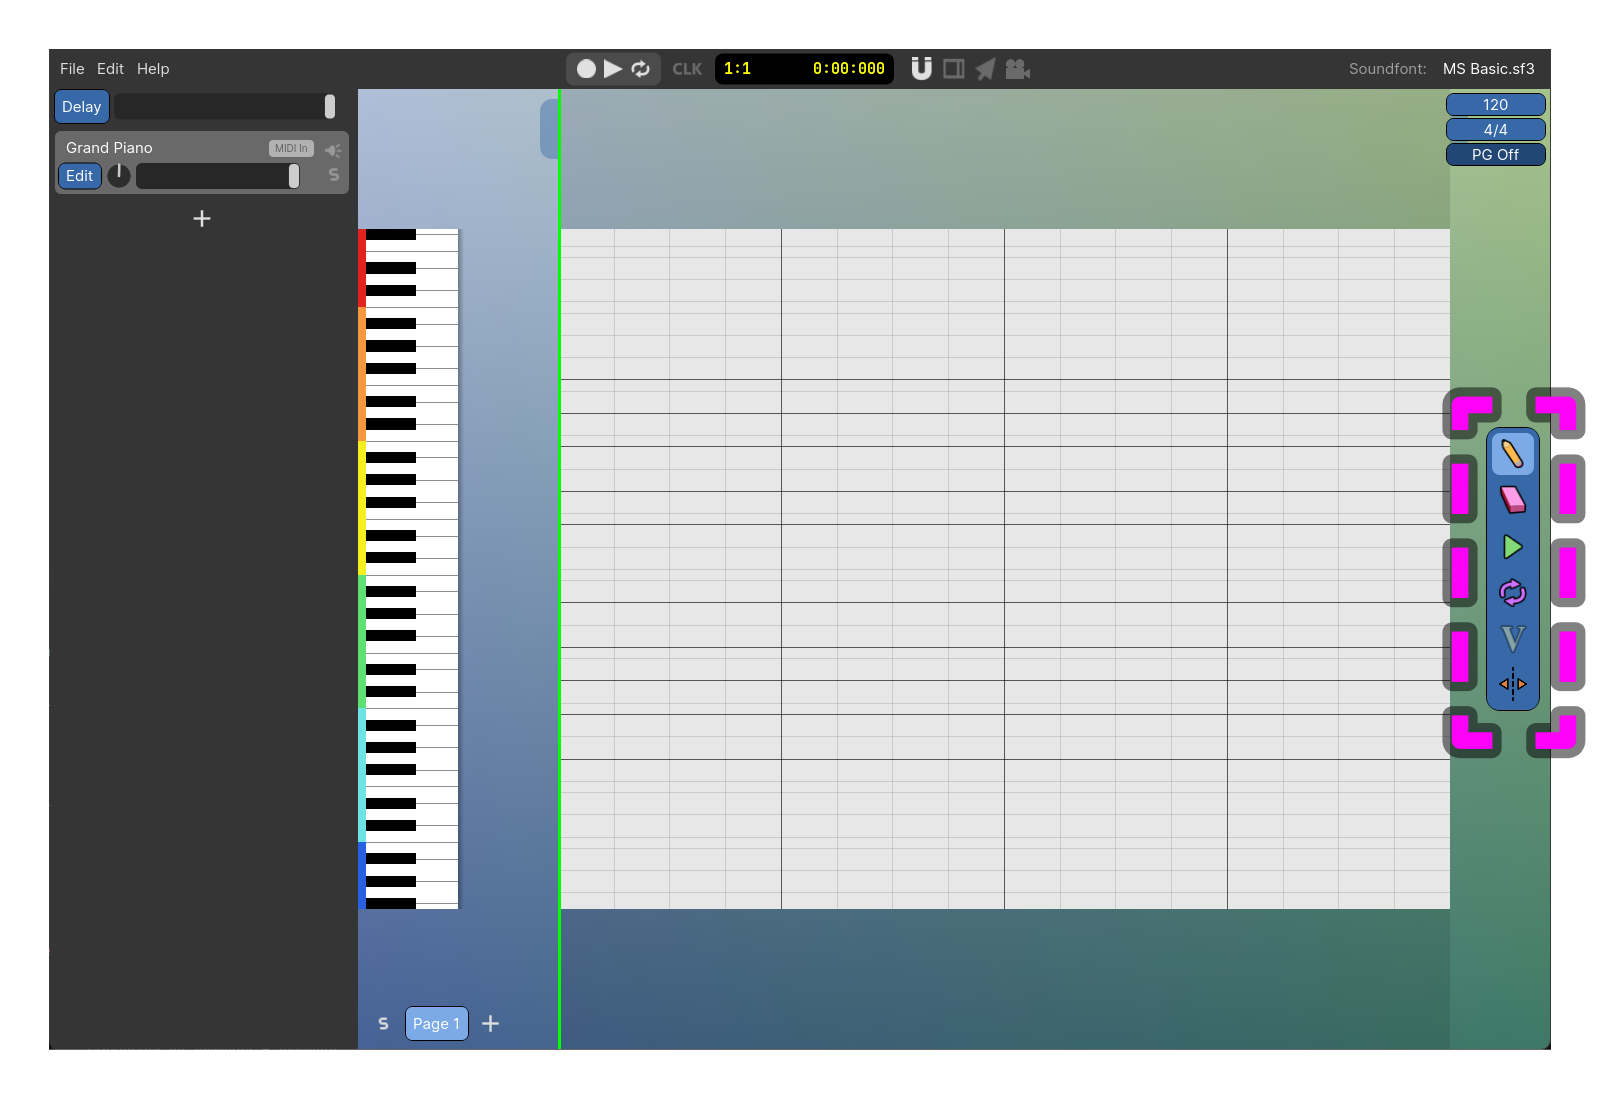
Mouse tools dictate what happens when you left click in the Stage. The tools are as follows:
Draw
Use the Draw tool to create new items, clicking in the Note Area will add in Notes (except when clicking on existing Notes). Clicking in the Instrument event lanes will add Instrument Events. Clicking in the Tempo, Time Signature or Pitch Guide lanes will add in Tempo Changes, Time Signature changes and Pitch Guide changes respectively. Default keybind is B.
Erase
Use the Erase tool to erase items. Clicking on items will erase them. Default keybind is E.
Move Playhead
When the Move Playhead tool is active, clicking on the Stage will move the playhead to this position. You can also move the playhead with any mouse tool active by clicking and dragging on the playhead. Default keybind is C.
Set Inner Loop Region
With this tool active, click and drag an area of the Stage. When the playhead reaches the end of this region it'll loop to the beginning of the set region. Remove the region by creating a region of length 0 (a more logical way of removing the region is on the roadmap). Default keybind is L.
Edit Velocity of Selected Notes
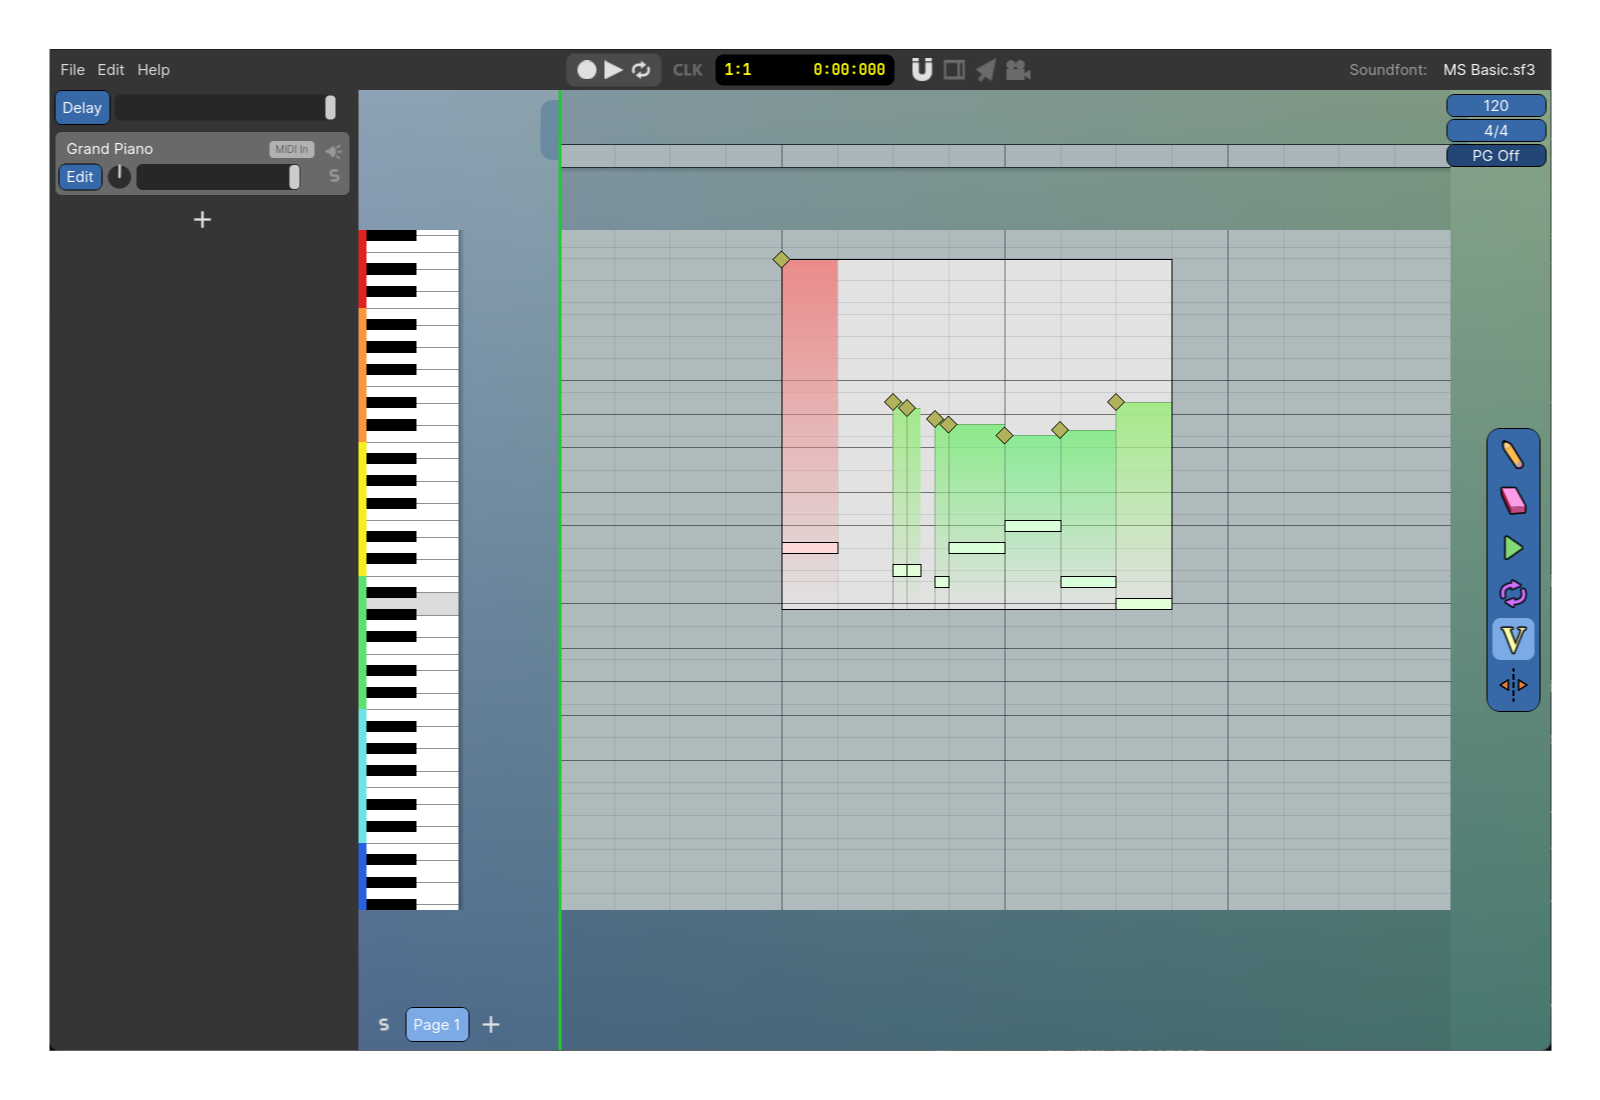
With Notes selected enable this tool and you'll see volume bars that you can adjust. Press Esc or change the mouse tool to stop editing Note velocites. You can box select or shift-click the yellow diamonds on the velocity bars to select multiple velocity bars if you want to edit the velocites of multiple Notes. Default keybind is V.
Page Split
Split the current Page into 2 Pages. Default keybind is P.
Box Selecting
Right click anywhere on the Stage to start a box selection. Your selection can include any combination of Notes, Instrument Events, Tempo/Time Signature changes and Pitch Guide changes.
Copy/Paste
When you have items selected, you can copy with the main menu Edit/Copy or with the default keybind Ctrl + C. You can paste those contents in 2 ways. You can drag out the clipboard button located under the Mouse Tools onto the Stage, or you can hover over where you want your new pasted contents to start and use the default keybind Ctrl + V.